
Inventory is one of the most important parts of Google Ad Manager. Here we set up different ad units, which a…
Inventory is one of the most important parts of Google Ad Manager. Here we set up different ad units, which actually are the spaces on any websites used to display ads. Ad units are the spaces where delivery sends creatives to be displayed upon call.
Any publisher that has the access to google ad sense can develop an inventory by logging into Google Ad Manager. That inventory is then used by the delivery to display ads.
Following is the procedure to set up the inventory.
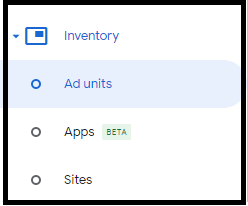
Log in to google ad manager. Click on the inventory section of the google Ad manager. It will expand to give options like Ad Units, Apps, Key Values, Targeting presets and traffic forecasts etc. Click on the “Add Unit” Option.
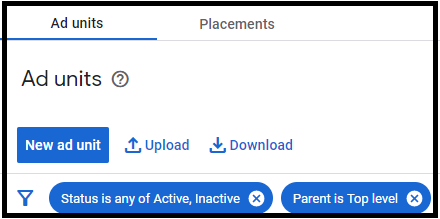
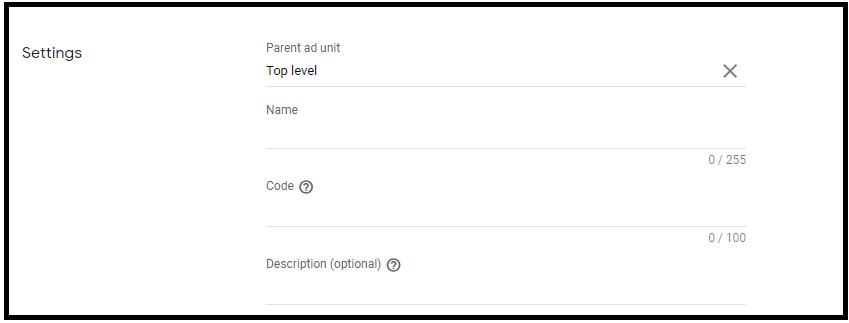
After you click on the “Ad Unit” option, you will be displayed an option of “New Ad Unit”. Click on New Ad Unit. You will be displayed different options and settings in front of you. Keep the parent ad unit to “Top Level”.
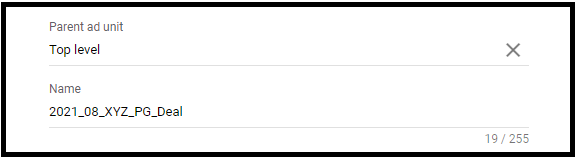
Then you have to select a name for that specific ad unit which can be changed later on. But the naming convention that you follow for one ad unit is to be followed for all other add units as well. After name the publisher needs to set the code for that ad unit. Code is to be set carefully, as once set it cannot be changed whatsoever.
While adding a name for an ad unit, we have to keep it like websitename_adunit. For example ads to be displayed at the header and sidebar of a boredpanda will be named as boredpanda_header and boredpanda_sidebar. By doing so it makes it easy to streamline ad units during debugging as well as by just looking at the ad one can tell where the ad is coming from and what is the location of this ad on that website.
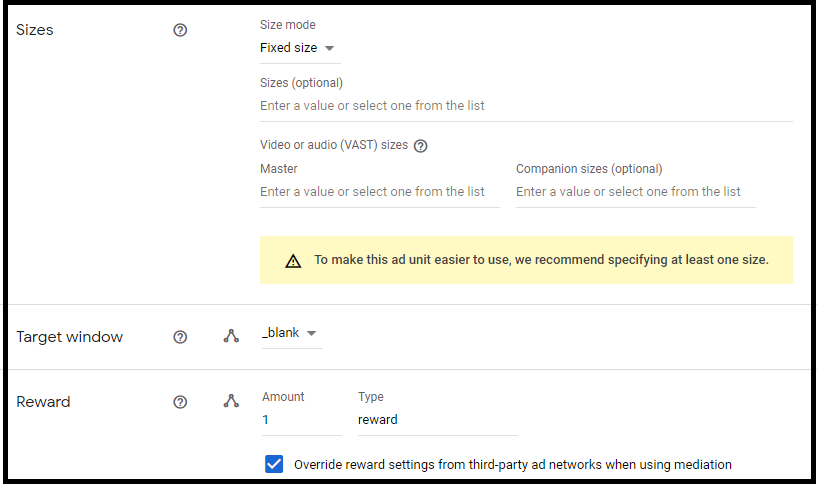
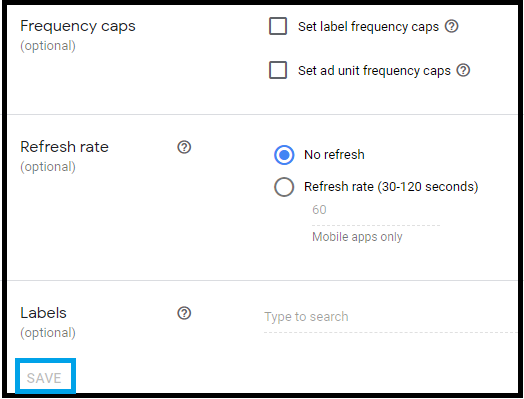
Size mode is always set to the “Fixed Size” by default. But can be changed to smart banners as well according to the need. Required sizes can be added individually. Target Window is to be kept blank and reward be set at 1. Frequency caps can be set for an ad unit. It is, for example, how many times an ad is displayed to a user in an hour, day, year or even lifetime.
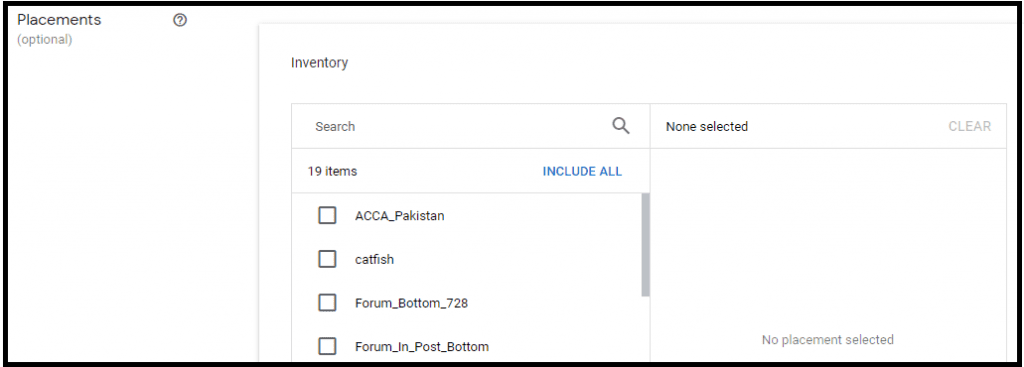
While setting up an ad unit, we are given an option of placements as well. We can either create a new placement for an ad unit or units or we can add it to an existing placement. Placement is actually the collection of different ad units to make targeting easy. If we don’t keep ad placements then we have to target all the ad units individually.
After looking into all these important details, the publisher can create that unit by clicking on the “SAVE” option at the bottom left corner of the page. By doing so, an ad unit with the relevant name, code and details is created and will be used by the delivery later on for displaying creatives.
Have questions about Header bidding wrapper and price granularity?
Schedule a free consultation with our Header Bidding Expert today 📞